April 24, 2024 | Asia Bartholomew
At the Charlotte ReStore, we are all about recycling and upcycling! If you have ever visited one of our 4 locations, you know that we have loads of great quality furniture items that need some love. That’s why this month’s DIY is so amazing! We are going to teach you how to save money by making your own chalk paint, then paint a chair transforming it from basic to beauty!
First, let’s talk about materials. You will need the following:
- 1 package of Plaster of Paris (we used the 4lb box made by DAP).
- 1 gallon of latex paint in a color of your choice. Make sure there is no primer in the paint (if your project is smaller, you may want to purchase a quart)
- 1 small container of cool water
- Measuring cup
- Container for mixing
- Sand paper in a fine grit such as 240 grit
- 1 flat-head screwdriver (to open paint can)
- Paint tray, brushes (bristle or foam) or paint roller, drop cloth, cleaning cloth, stir sticks and work gloves
Safety first: we will be using Plaster of Paris to make our own chalk paint and it is dusty. Be sure to wear a dust mask when mixing. Additionally, be sure you are painting in a well-ventilated area!
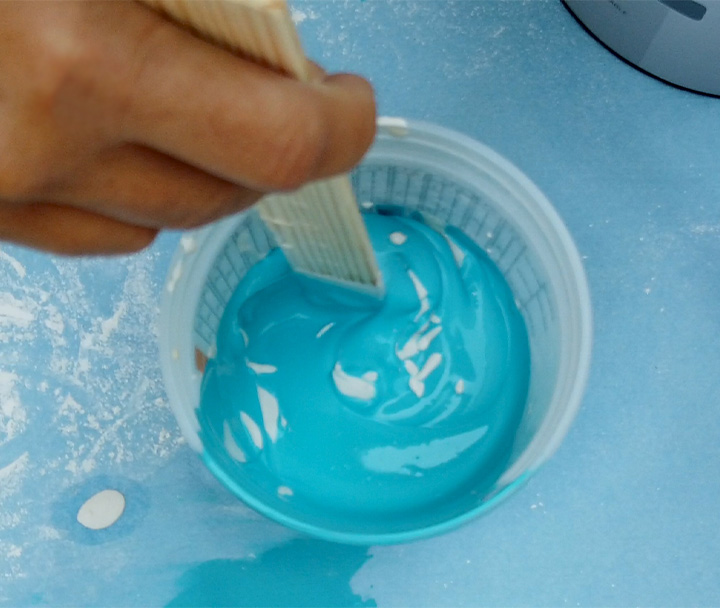
Next, let’s mix the paint! In a small container, mix ⅓ cup Plaster of Paris with ⅓ cup cool water; stir completely until smooth. You are looking for a consistency similar to pancake batter.
In a separate, larger container, measure 1 cup latex paint and then add your Plaster of Paris slurry. This will make enough chalk paint to cover a six-drawer dresser with one coat. Mix well and you are ready to paint!


In a separate, larger container, measure 1 cup latex paint and then add your Plaster of Paris slurry. This will make enough chalk paint to cover a six-drawer dresser with one coat. Mix well and you are ready to paint!
Using your brush (we found that a foam brush or roller works best), paint with small, even strokes. Be sure to load up your brush with paint often as chalk paint isn’t as viscous as latex paint. Cover your piece completely and let dry several hours or even overnight.
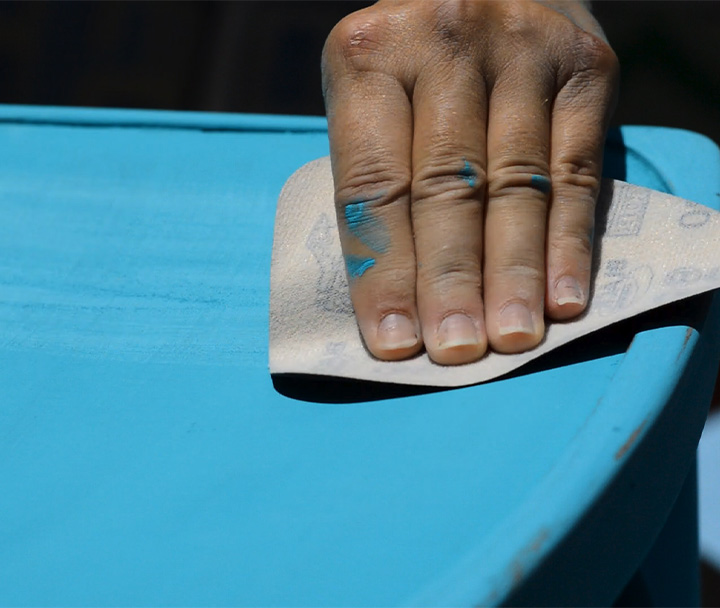
Once dry, you can customize your piece by distressing with sandpaper. Simply sand raised areas, corners, and edges revealing the original wood. Finish your project with a sealing wax (for extra sheen) or leave it raw for that really rustic look!
Here are some things to remember when it comes to chalk painting:
- The beauty of chalk paint is that little to no prep is required! Simply sand out rough spots, wipe with a damp rag and you are ready to go!
- Chalk paint dries quickly, especially if you are working outdoors.
- Like most painting projects, you will need a couple coats to completely cover your piece.
- If you like a smooth, matte finish, chalk paint is for you! For those that like a little shine, there are many waxes, polyurethanes, and lacquers that offer a variety of antiquing or sheen levels.
Now that you have the basics, stop by your local Charlotte ReStore and shop for a project piece! Dining chairs or end tables are a great way to get started. Be sure to subscribe to our YouTube channel, and follow us on Facebook and Instagram. We can’t wait to see your chalk painting projects – use the hashtag #cltrestorediy when posting!
Happy chalk painting!

Did you like this blog?
Sign-up for the ReStore Rundown and get our latest DIYs, cool upcycling and product ideas delivered straight to your inbox!


